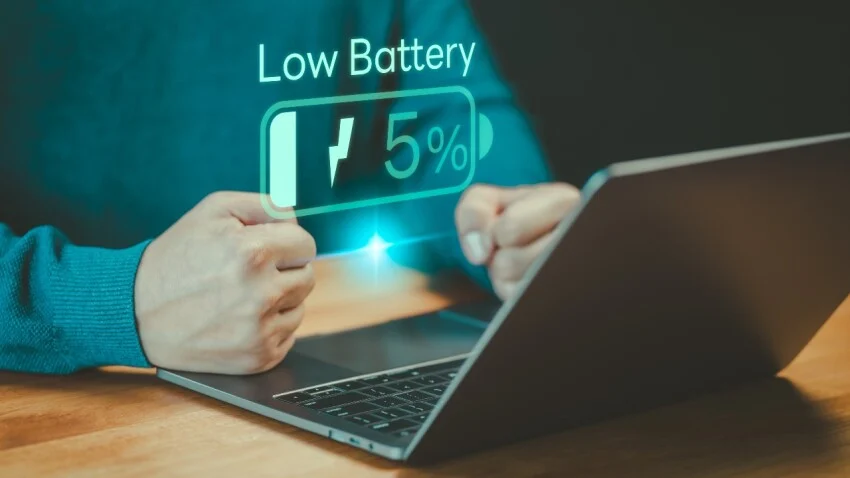
If your laptop is plugged in but not charging, here are several troubleshooting steps to identify and potentially resolve the issue:
1. Check the Basics
- Ensure Proper Connection: Confirm that the charger is firmly plugged into the laptop and the wall outlet.
- Inspect the Charging Port: Check for debris or damage in the laptop’s charging port.
- Try Another Outlet: Test the charger with a different wall outlet to rule out power issues.
2. Inspect the Hardware
- Examine the Charger and Cable: Look for frays, kinks, or other visible damage to the power cord or adapter.
- Test with a Different Charger: If possible, use a compatible charger to see if the issue is with the original charger.
- Check the Battery: Some laptops have a removable battery. If yours does, try removing and reinserting it.
3. Verify System Settings
- Check Power Settings: On Windows, go to
Control Panel > Power OptionsorSettings > System > Power & Sleepto ensure your power plan isn’t limiting charging. - Inspect the Battery Status: Look for battery health details in the operating system. On Windows, you can check this in the
Battery settingsor via third-party software. On macOS, go toApple Menu > System Information > Power.
4. Update or Reinstall Drivers
- Update Battery Drivers (Windows):
- Open Device Manager (
Win + X> Device Manager). - Expand the “Batteries” section.
- Right-click
Microsoft ACPI-Compliant Control Method Batteryand choose Update Driver.
- Open Device Manager (
- Reinstall Drivers: If updating doesn’t work, uninstall the driver and restart your laptop; it will reinstall automatically.
5. Test for Overheating
- Cool Down Your Laptop: Overheating can prevent charging. Shut down your laptop and allow it to cool before plugging it back in.
6. Check the Power Adapter Settings
- Use the Correct Charger: Ensure the wattage and voltage of the adapter match your laptop’s requirements.
- Reset the Adapter: Some adapters have built-in surge protection. Unplug the charger for a few minutes and try again.
7. Update BIOS/UEFI
- Check for Updates: An outdated BIOS/UEFI can sometimes cause charging issues. Visit your laptop manufacturer’s website for updates and follow their instructions to install.
8. Conduct a Battery Reset
- Battery Reset: If your laptop has a built-in battery reset pinhole, press and hold it (typically with a paperclip) for a few seconds.
9. Test the Laptop Without the Battery
- If you have a removable battery, remove it and try powering the laptop directly from the adapter. If this works, the battery may need replacement.
10. Seek Professional Assistance
If none of the above resolves the problem:
- Contact Support: Reach out to the laptop manufacturer’s technical support.
- Visit a Technician: A professional can diagnose and repair hardware issues.
Common Causes for Charging Issues
- Faulty charger or power adapter.
- Damaged charging port or cable.
- Overheating.
- Outdated software or drivers.
- Battery degradation or failure.
By systematically working through these steps, you can often pinpoint and fix the issue without needing professional intervention.
Has this ever happened to you? Your laptop informs you the battery is nearly dead. You then rush to find your charger and plug it in, only to get nothing. No glowing lights, no brightened display, and no “battery charging” icon. If you plug in your laptop and find that it’s not charging, what should you do?
When it comes to laptop batteries, there are multiple things that can fail. Some are easy to fix yourself with a software tweak or even a new battery, but other problems may require a visit to a repair shop or even a full-blown system replacement. Knowing which is which can save you hours of frustration and hundreds of dollars in repairs. Here’s how to quickly troubleshoot the issue and narrow down the problem to find the most economical solution.


