Automating Tesla features using Apple’s Shortcuts app is a powerful way to interact with your car effortlessly. Here’s a step-by-step guide to streamline the process:
1. Prerequisites
Before you begin, ensure you have the following:
- A Tesla vehicle.
- The Tesla mobile app installed and logged in.
- An iPhone or iPad running iOS 14 or later.
- Apple’s Shortcuts app (pre-installed or downloadable from the App Store).
- An API service or third-party app like Tesla API Integration or Teslatron to interface with Tesla’s system (optional but recommended).
2. Set Up Tesla API Access
Tesla’s API enables remote control of your vehicle. Use an API tool for secure access:
- Generate an API Token:
- Log in to your Tesla account via a trusted API tool like TeslaMate, TeslaFi, or Token Generator.
- Retrieve your authentication token to use in custom Shortcuts.
- Install Prebuilt Shortcut Templates: Some third-party apps like Stats for Tesla or Watch for Tesla offer direct integrations and templates to simplify automation.
3. Create a Shortcut
Using the Shortcuts app, you can build automations for specific Tesla actions. Below are examples:
A. Lock/Unlock Your Tesla
- Open the Shortcuts app.
- Tap + to create a new Shortcut.
- Select Add Action.
- Search for “Get Contents of URL” and select it.
- Enter the Tesla API endpoint for locking/unlocking:
- Example:
https://owner-api.teslamotors.com/api/1/vehicles/[VEHICLE_ID]/command/door_lock.
- Example:
- Under Headers, include your API token for authentication.
B. Precondition Your Tesla
- Use the endpoint:
https://owner-api.teslamotors.com/api/1/vehicles/[VEHICLE_ID]/command/auto_conditioning_start.
C. Open the Frunk or Trunk
- For the frunk:
https://owner-api.teslamotors.com/api/1/vehicles/[VEHICLE_ID]/command/actuate_trunk?which_trunk=front.
D. Custom Automation with Siri
- Name the Shortcut, e.g., “Start Climate Control.”
- Enable Add to Siri and record a custom voice command like “Hey Siri, warm up my Tesla.”
4. Use Advanced Automations
Combine Shortcuts with iOS Automations to trigger Tesla commands based on conditions:
- Geofence Activation:
Unlock your Tesla when approaching your garage by setting a location-based automation. - Scheduled Charging:
Start charging every night at a specific time with scheduled Shortcuts.
5. Third-Party Apps with Shortcuts Support
If creating API calls manually is daunting, third-party apps simplify the process:
- Tesla for iOS: Offers pre-built Shortcuts.
- TezLab: Allows integration with Shortcuts for energy tracking or notifications.
- Watch for Tesla: Adds Apple Watch functionality for Tesla commands.
6. Test and Troubleshoot
- Verify the API token and endpoint validity.
- Test each Shortcut to ensure proper execution.
- Check Tesla’s mobile app for real-time updates.
Conclusion
Automating Tesla features using Apple’s Shortcuts app empowers you to control your vehicle effortlessly. Whether through custom API integrations or third-party tools, these automations enhance your Tesla experience and simplify daily interactions.
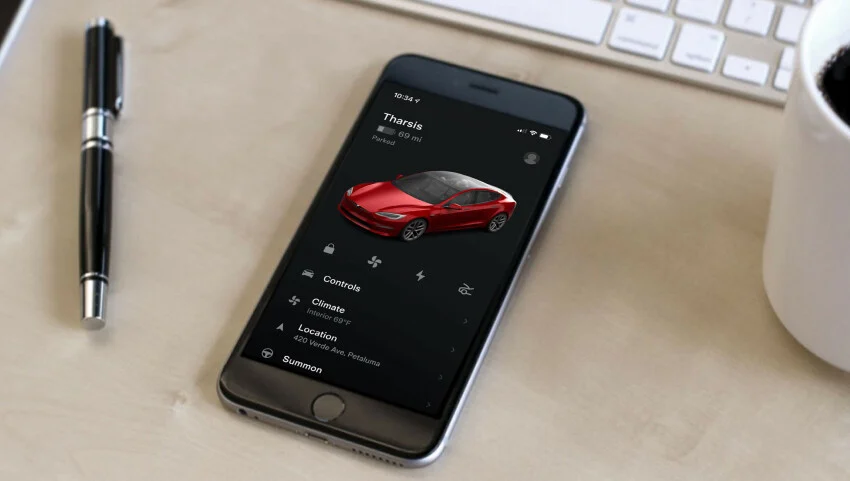
Tesla is looking to make controlling your EV even easier by automating several processes with the help of Apple’s Shortcuts app. Tesla’s iOS app now includes dozens of actions available for iPhone owners to customize—and automate—their vehicle experience.
Many of these shortcuts center on vehicle controls, such as opening the trunks, climate control, and turning on the seat heater. Others are just for fun.
By integrating these functions into the Shortcuts app, you can make them available as widgets on your iPhone Home screen or by asking Siri. That means you can ask Siri to open the frunk from your Apple Watch if your hands are full of groceries.
It’s easy to get started, but like a lot of other Shortcuts, you’ll need some imagination to take them to the next level and make them personal. Here’s how to set one up.