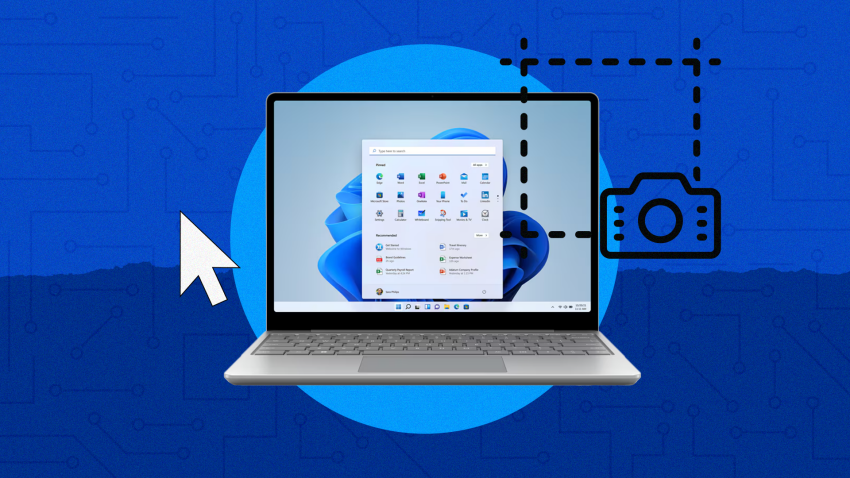
Here are 7 easy ways to take screenshots in Windows 11, along with tips for each method:
1. Use the Print Screen (PrtScn) Key
- How: Press
PrtScn. This captures the entire screen and copies it to the clipboard. - Where to paste: Open an app like Paint, Word, or any photo editor, and press
Ctrl + Vto paste the screenshot. - Pro Tip: Enable “Use the Print Screen key to open Snipping Tool” in Settings > Accessibility > Keyboard for faster access.
2. Windows + Print Screen
- How: Press
Windows + PrtScn. The screen dims momentarily to confirm the capture. - Where it saves: The screenshot is saved automatically in Pictures > Screenshots.
- Pro Tip: Combine this with file syncing tools like OneDrive for automatic backup.
3. Snipping Tool
- How:
- Open the Snipping Tool from Start Menu.
- Click New and select a snip type (Rectangular, Freeform, Window, or Full Screen).
- Where it saves: Save the screenshot manually or use the clipboard to paste it elsewhere.
- Pro Tip: Use the Delay feature to capture timed screenshots of menus.
4. Snip & Sketch (Keyboard Shortcut)
- How: Press
Windows + Shift + S. The screen dims, and a toolbar appears with options for snip types. - Where it goes: Copied to the clipboard. A notification allows you to edit and save it.
- Pro Tip: This method is ideal for quick sharing and annotations.
5. Alt + Print Screen
- How: Press
Alt + PrtScnto capture only the active window. - Where to paste: Paste it into an app (Paint, Word, etc.) with
Ctrl + V. - Pro Tip: Great for multi-monitor setups to focus on one window.
6. Windows + G (Xbox Game Bar)
- How:
- Press
Windows + Gto open the Xbox Game Bar. - Click the Capture widget and hit the Camera button.
- Press
- Where it saves: Videos > Captures by default.
- Pro Tip: Excellent for gamers as you can record and screenshot simultaneously.
7. Third-Party Tools
- Examples: Lightshot, Greenshot, ShareX.
- How: Download and install your chosen app. They often offer advanced features like cloud uploads, editing, or scrolling screenshots.
- Pro Tip: Use these for specialized needs like capturing entire web pages.
By using one or more of these methods, you can tailor your screenshot-taking process to fit your workflow in Windows 11!Microsoft Windows has long had numerous options for taking screenshots, also known as screencaps or screen grabs—perhaps too many. Windows 11 simplifies the situation. Recent updates to the OS have added nifty new tools that let you take screenshots more easily, record video of your screen activity, and run optical character recognition (OCR) on images. Here are seven ways to take a screenshot in Windows 11.
An advantage of this method (and the next) is that it doesn’t affect the app displaying on your screen the way using a keyboard-combination shortcut sometimes does. Sometimes a menu dropdown disappears if you use a shortcut instead.
If you want to capture only the active window and not the full desktop image, add the Alt key for Alt-PrtScn. Using this keyboard shortcut saves the current window to the clipboard, and from there, you can paste it into an imaging application. In Windows 11, the result can be a little strange because the rounded window corners are extended to squared-off corners (image files are always rectangular).
Note that a Windows update changed the behavior of the Print Screen key: It now opens the Snipping Tool by default. To get back to the behavior described above, go to Settings > Accessibility > Keyboard and switch off the setting “Use the Print screen key to open screen capture.”